Saturday 25 November 2017

Art Journal Page for Visible Image Design Team

Hi everybody, today I have an art journal page to share with you that I have created for Visible Image.


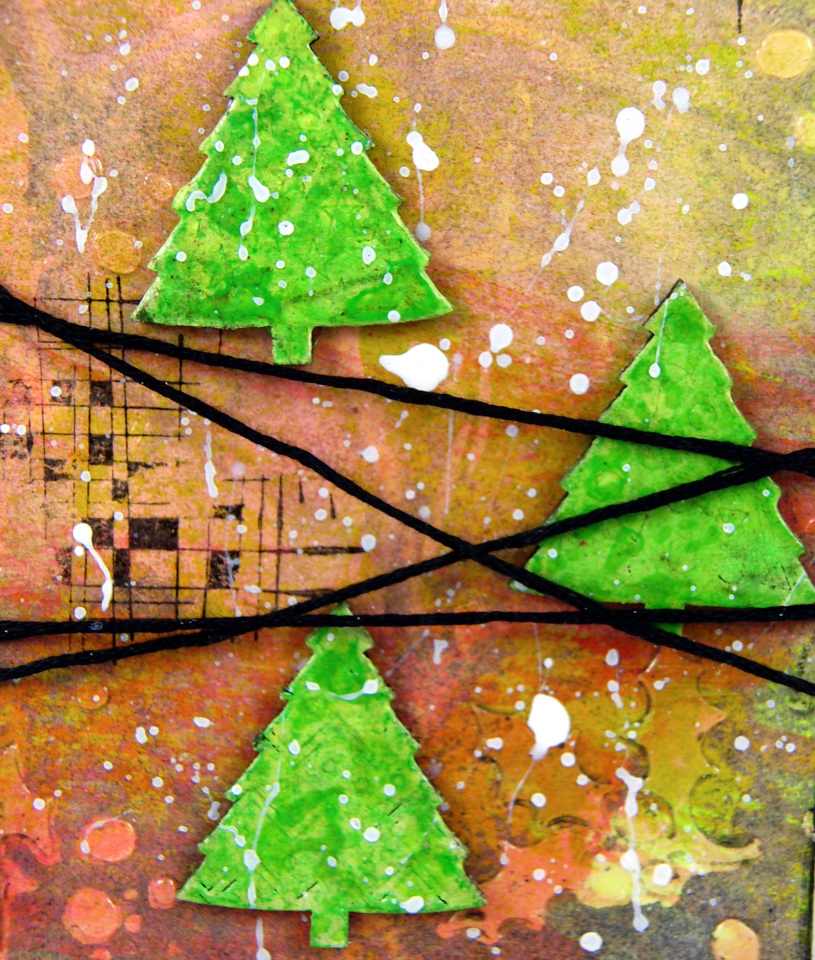
I began by putting down some bold colours - I find this often gives me clarity about what I want to do


I have used Dylusion paints - Lemon Zest, Postbox Red, and Tangerine Dream.

I have used the Time Tunnel stencil and Distress Ink Chipped Sapphire to create the focal points


I used Dina Wakeley Heavy Body White paint and a brayer randomly around the pages.  With the left over white paint I applied this to the Strobes Stencil and using a roll of paper towel, pressed it onto the page.


On a seperate piece of paper I have stamped the eye from the Where Dreams Take you stamp set and cut it out, adhering it to the art journal page using matte gel medium.  I have coloured the eye with a watercolour blue.

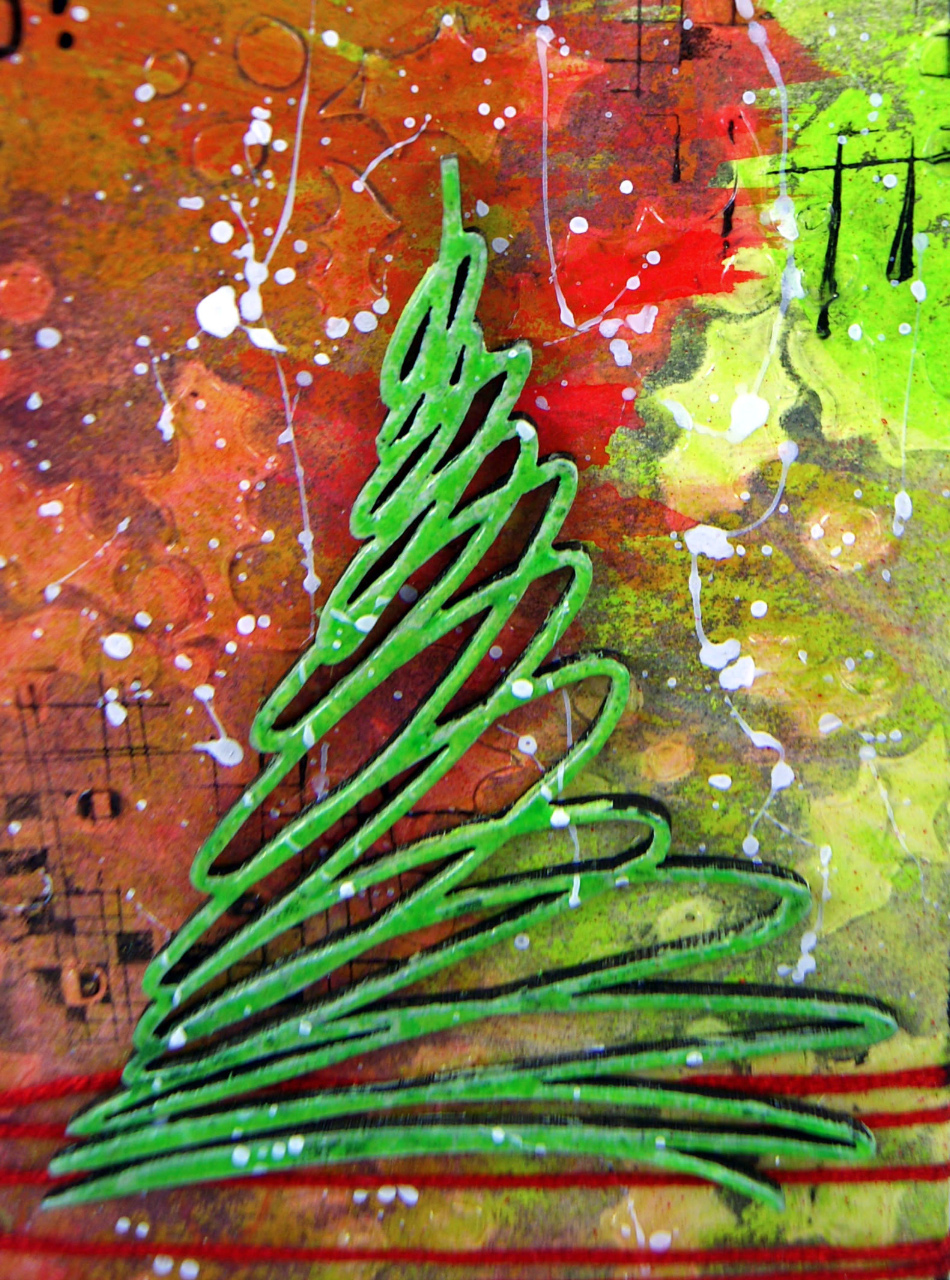
I have then randomly stamped around the layout using stamps that I have listed below in the products list.    I have used a white paint pen and the Dylusions paints to highlight areas.  For the final touch I have applied Whipped Spackle paste through a stencil randomly on the layout to bring it all together.

Here are some close ups:


Products Used:


Thanks for stopping by and I hope that I have given you some inspiration to get out the bold colours are create. 
Til next time - Happy Crafting!


Hi everyone, today I am up on the Art and Soul blog  sharing how I created the background page on two art journal spreads using Finnabair Mica Powders and Finnabair Art Alchemy paints and waxes. (I have put links at the end of the blog for the products used).

I began by using Finnabair 3D Gloss Gel through a stencil on black art journal book


Once dry I have applied some Mica Powders.  The first coat comes up a bit like a white wash


Once dried I applied a second coat.  I have applied the powders direct to the paper and spritzed with water and then used a large brush to encourage the paints where I wanted them.


Once the second coat was dry I have applied some of the Art Alchemy waxes randomly on the stencilled areas.  I have used my fingers to apply as I find I have more control this way.
I have then applied a top coat of satin varnish. This will seal the colours in a gives it a nice shine.


I have added a couple of images, quotes and rub-ons and splatters of gesso to complete the page


For the second page, I have done the same technique with the stencil and gloss gel.  I have then done a light covering with the Mica Powders


I have them come in with the Art Sparks paints and Alchemy waxes and highlighted the flowers.  Again I have done this with my fingers.  The colours are fantastic and change depending on the angle you hold the paper


I have again sealed this with satin varnish.

My background is now complete and ready for some word stickers or maybe a quote.

here is a list of the products used with a link to the shop.


Thanks for stopping by and I hope that you have enjoyed my blogpost.  
Til next time - Happy Crafting.


Tuesday 21 November 2017

christmas tags and a layout for ScrapFX

Oh my gosh it is nearly the end of November - Christmas and the end of the year is just around the corner.  I will admit I am not a huge christmas fan but I have made some tags for you this week and a layout - which is non christmassy for all the others out there that find Christmas not as exciting and special as others.

I have created the background using Marabu Mixed Media Art Spray, a Kaisercraft Stencil, 3 D Gloss Gel

Once dry I stamped randomly using permanent ink and then used some tapestry cotton for effect.

The chipboard has been coloured using Lindy Stamp Gang and Stampendous Embossing Powder.  I have covered the tag with a glossy sealer to being our the colours.

Here are some close ups:


Products used for my tags (with links to the store)

For my next project I have created a 12x12 layout of a swan I captured on a recent visit to Launceston, Tasmania.


I created this layout using watercolour paper.  I used a Scrapfx  Damask stencil and white crackle paste. 
Once dry I have applied Lindy Stamp Gang Magicals, Greased Lightening Green, Steampunk Sepia, Afternoon Delight Denim and Grab a Guy Gold around the top area of the paper.

I have painted the chipboard in the same colours (after first applying a coat of white gesso to the chipboard)


I have stamped around the photo area with a couple of Scrap FX stamps and then put the layout together and included final touches of micro beads, glass beads and a few Prima Melanges.


Scrap FX Products Used:


I have also entered this layout into this month's Lindy Stamp Gang Challenge. The details can be found here The colour chart below and all the colours can be purchased in the November set


I have used the following colours with links to the store:

Greased Lightening Green
Steampunk Sepia
Afternoon Delight Denim
Grab a Guy Gold

As I didnt have the green in the colour for the month I mised the Greased Lightening Green and Steampunk Sepia together which gave me a closer green that was on the chart.

Thanks for stopping by and til next time = Happy Crafting :)

DT layout for Scrap Matrix featuring 7 Dots Collection

Good morning, I would liketo share a layout that I have created for Scrap Matrix Design Team using the 7 Dots Collection - Dreamscapes.


I recently went to Melbourne and my son and I went to the Melbourne Zoo - The Butterfly house was where I took this photo of a beautiful butterfly.


I created the background by first covering the entire page with clear gesso - this allows the paints/inks to sit and dry on top of the paper and not soak in.

I have then used Prima Water Colour Confections - I love these little squares of vibrant colour.  
After the paint had dried I have stamped randomly around the colour using a Kaisercraft Stamp - Botanical.  
I have then applied 3D Gloss Gel through a 7 Dots Stencil - Triangles.

Here is the layout so far:


Putting the layout together  I kept the embellishments simple as the background was rather busy.  I have used some Prima Sunset Sunrise flowers wrapped with leafy twine and rope, metal embellishments, German Paper Lace and micro beads.

Here are some close ups:


Below are a list of products used with a link to the Scrap Matrix store:


7 Dots word sticker - Fortune Teller
Prima Micro Beads

Thanks for stopping by and I hope that you have found some inspiration in my page.  Dont forget, if you want to be in to win a voucher from Scrap Matrix, have a go at this months challenge and create a layout, art journal page, tag, or card and upload it onto our facebook page - Scrap Matrix Shares to be eligible - it is that simple :)

Until next time  Happy Crafting