Wednesday 19 December 2018

Christmas Art Journal Page for Scrap FX

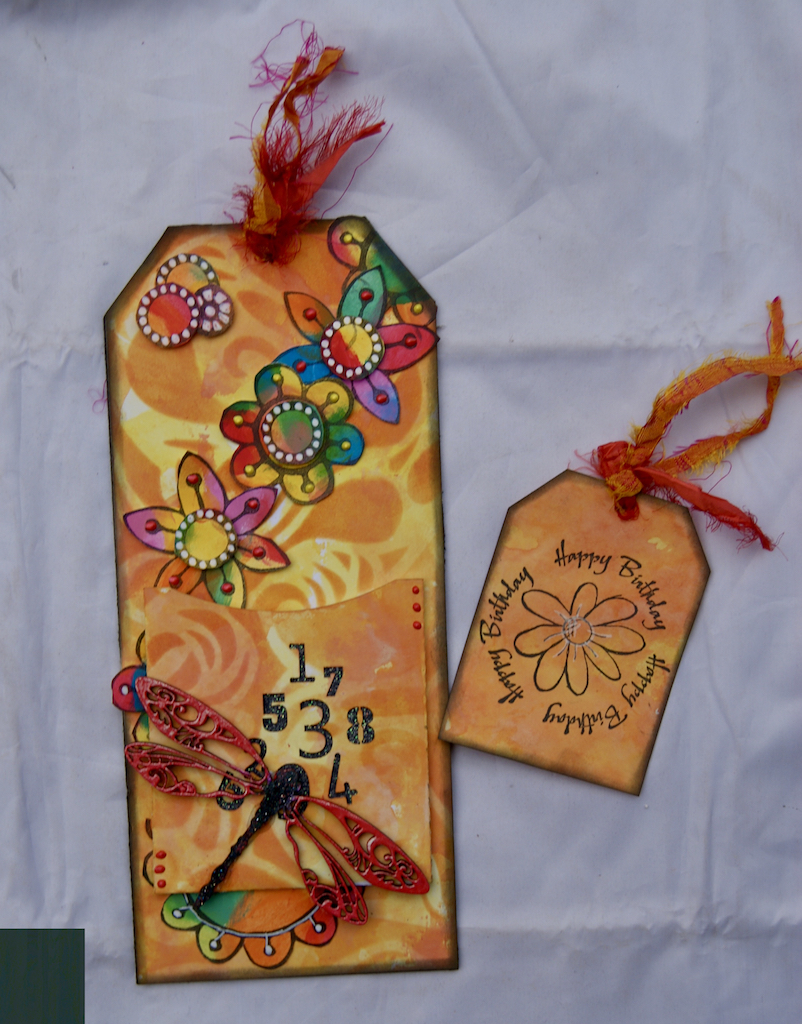
Today I have created an art journal page for Christmas for Scrap FX Design team.  I am not a huge lover of the Christmas hype - It is much more of a quiet time for us, but there is always the countdown to christmas and I have created an art journal page representing this count down and the unorganised situation I find myself in!


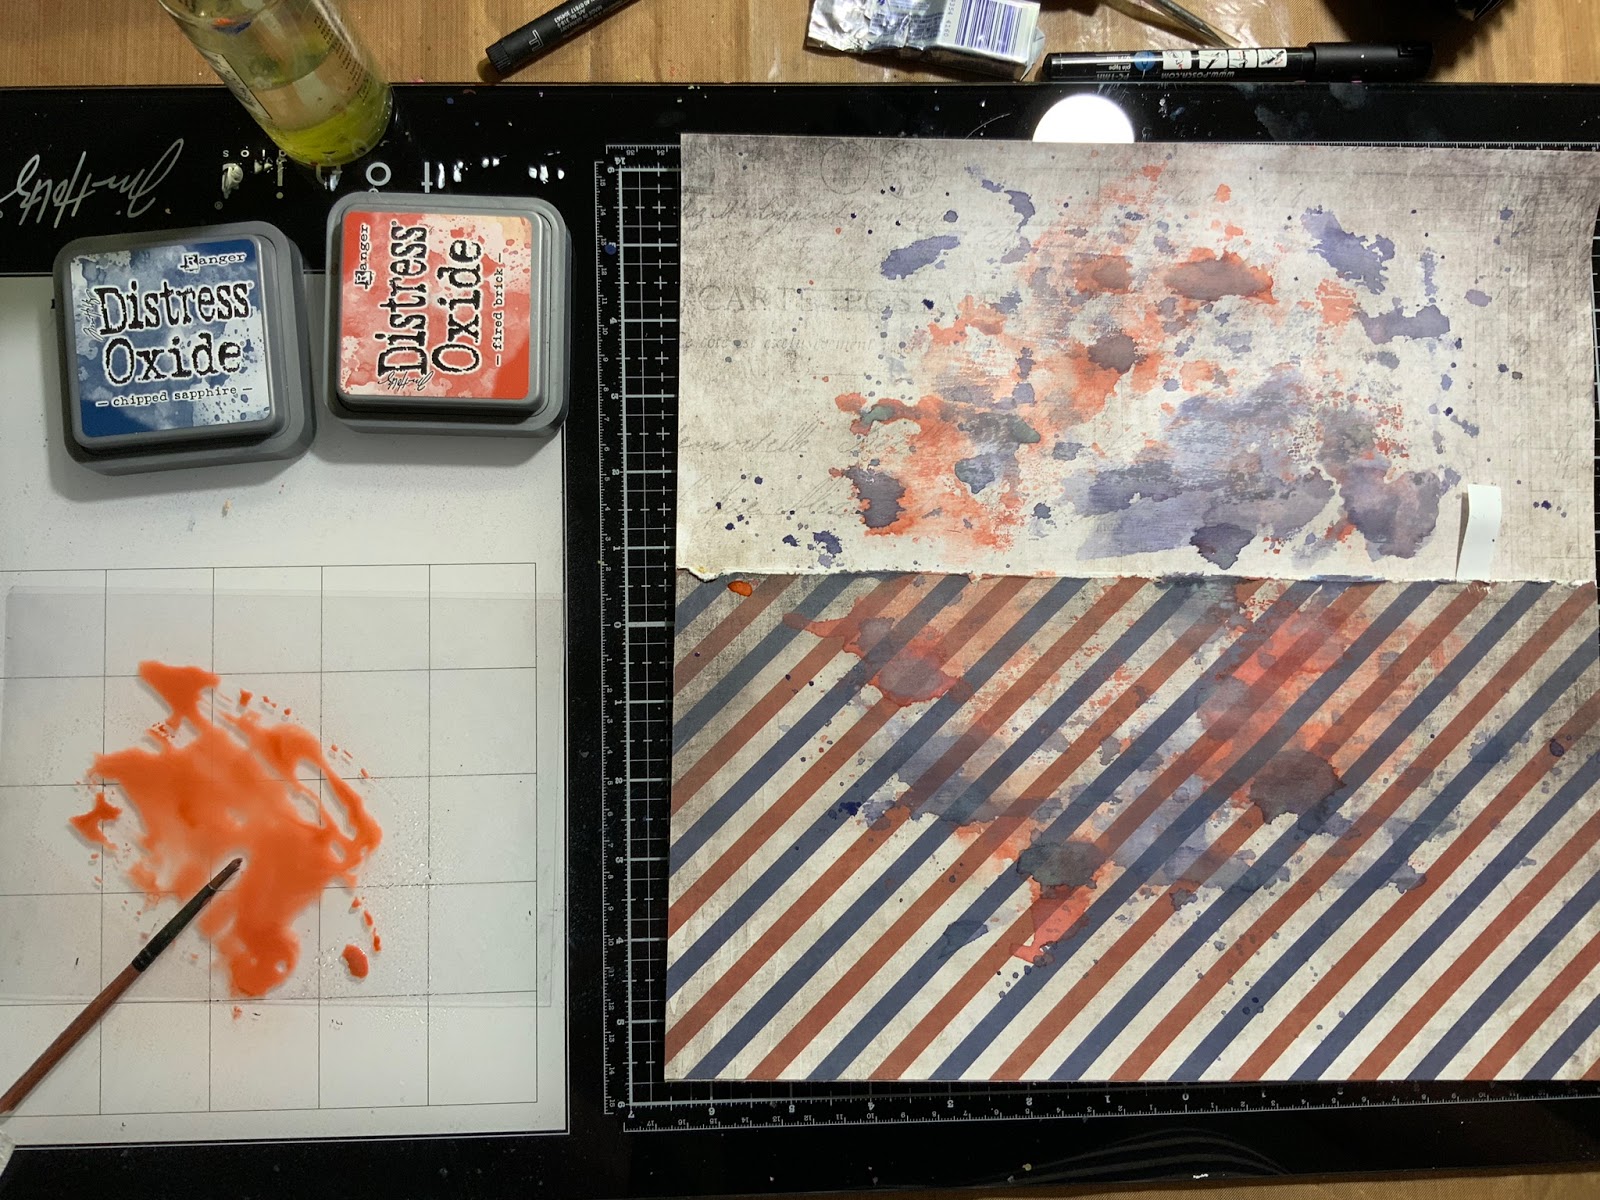
this layout begun with the gelli plate and a peeled paint effect youtube video that I watched featuring Birgit Koopson on Gelli Arts.  The link to this video is here

I created my background page and then added it to my art journal and created the black and white border with paint pens.  

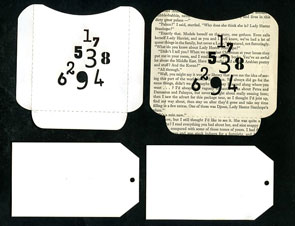
I have then used the number stencil and distress inks to highlight the numbers.

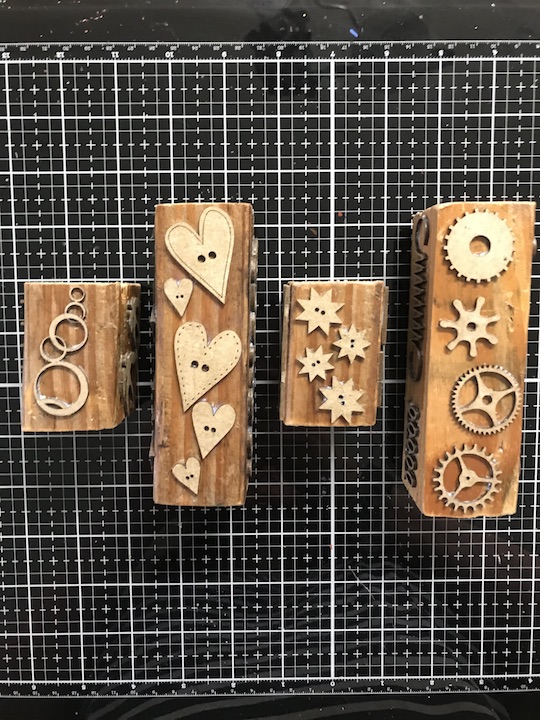
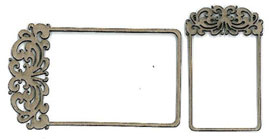
The chipboard pieces have been embossed with white and green embossing powder.

Here are some close ups:


Products Used:

Merry Christmas scramble - Click Image to Close


Numbers Collage stencil - Click Image to Close

2018 Year Pack - Click Image to Close
Hash Stamps - Click Image to Close
Chicken Wire Stamp - Click Image to Close
Thanks for stopping by and I hope that I have inspired you to create something "christmassy" in your art journals.

Friday 14 December 2018

Scrapbook layout for Scrap Matrix Design Team

Morning, I am up on Scrap Matrix Design Team with another take on this months moodboard.  Today I have a scrapbook layout that I did of my son on his recent trip to Sweden.


I have gone with the Triad method on the colour wheel - using blue, red and yellow


I began with two of the pages from the 7 Dots Studio Airmail Collection.   When putting them together I did not seal the centre as I was unsure at this stage if I would be poking tags etc in, so I let the double sided tape protector on and pulled a bit through so I could easily seal it later.


I have applied a layer of clear gesso over the entire page before starting so my inks wouldnt soak into the paper.


To apply the Distress Oxide I have rubbed the ink pad on a piece of transparency and then spritzed with water before dabbing the transparency around my page.  I did this one colour at a time - and dried in between colours.


Once I was happy with the colour I then applied the same colours with a paintbrush to give splash marks only


Using tags and stickers from the 7 Dots Airmail collection I created a photo matt.  I then wanted to stamp the words using the Tim Holtz foam alphas.   I find using a stamping platform the best option when you have more than one letter in your word and to get a perfect dark image.


for the final touches and to complete my Triad colour scheme I have added splashes of yellow paint around the layout.  I have used Paper Artsy Zesty Zing for this as I wanted the yellow to stand out a bit.  


Here are some close ups:


I hope that you find time to complete a project - layout, art journal page, cards, ATC's, canvas etc and enter this months challenge.  It is very easy to enter - just upload your photo in our Scrap Matrix Shares Facebook group and let us know one product you used that is available in the Scrap Matrix store.

You have until the end of December to enter and be in the running to win an instore voucher :)

List of products used:


Til next time - Happy Crafting

Friday 7 December 2018

Scrap FX DT Post - Art Journalling

Hi Everyone, today I would like to share with you the contents of a Junk Journal for Scrap FX Design Team - I made the cover a couple of months ago.


I had the privilege to meet the wonderful Dee Dee Catron from America last month and she had these wonderful blocks with chipboard mounted on them to use with her Gelli plate.   So I decided to make my own.  I got my husband to cut down some random blocks of wood I found lying around his shed!


and I added chipboard pieces that I loved with Matte Medium.  I gave then overnight to dry completely (I did the matte medium on the top as well)


and then it was fun time to be had with my paints, my gelli plate and the wonderful stamps.   I created some awesome backgrounds:


Once I was happy with the backgrounds I have used some scrap FX Stamps on the pages and then using a white and black paint pen I have added dots, dashes, stripes, blogs and  marks until I thought it looked ok - that was the problem - knowing when to stop!!!!


Once I had completed the pages and they were dry I could then put my Junk Journal together inside the cover that I had previously made.


I hope that this has given you some inspiration to make your own chipboard stamp blocks, to get messy with paints and create a junk journal.

Products Used with links to the store:


Thanks for stopping by and til next time - Happy Creating :)

Tuesday 4 December 2018

Art Journal page for Scrap Matrix DT

Heeellllloooo everyone, 

Today I would like to share with you the art journal page that I have created for this months challenge over at Scrap Matrix.

THE COLOUR WHEEL - what an awesome moodboard - so many options.

I was instantly attracted to the eye and wanted to do something around that image.


No automatic alt text available.

Here is my journal page:


For the background I have used the colours as they are on the colour wheel - this is the most pleasing to the eye.

I have used scribble sticks - but I didnt place them directly onto the paper - I have used a very wet brush and wiped the ink from the scribble sticks onto my mat giving me more of a water colour effect. 


I have gone over each colour a couple of times to get the density that I liked.  It is important that the colours are dry before adding another colour or you just might make mud!

I have hand-drawn an eye on a seperate piece of paper and then cut it out and stuck it down onto my journal page. Definately at the ugly stage here without lashes!!!! (and I increased the blue of the eye so that it goes to the bottom of the eye)


Using the scribble sticks again I have added some more colour around the eye and let it drip down.

To fit in with the saying I have also added some tears (which is from a raindrop stamp) and some stars on the other side using texture paste and a dusty attic star stencil.

The eyelashes were made with a combination of a water colour pencil and a black paint pen.

The words were printed onto a transparency and then glued onto the page - I find this better than my hand writing!!!


I will link the products used below so you can easily find them in the Scrap Matrix Store.

I hope that you find some time to join in this month - it is easy peasy - just take a photo of your project and upload it into the December Album in the Scrap Matrix Shares page.


Wednesday 21 November 2018

A heritage scrapbook layout and a card/tag for Scrap FX

Good morning today I am here to share with you two completely opposite projects using the featured products this month for Scrap FX.   I have a heritage scrapbook page and a brightly coloured tag.


Firstly the scrapbook page of my Grandma.


I have inserted a gold piece of card behind the numbers and edged the pocked with Tim Holtz Vintage Photo Distress Ink.

I have embossed the little flowers with a stampendous shabby pink embossing enamel


The foam stamp flowers have been stamped around the layout and also onto another piece of matching paper and fussy cut out to give the layout dimension. I have added black floral cut outs and used a black and gold button as the centre.


The frame has been embossed with Stampendous Aged Black embossing enamel.


The title has been embossed with Stampendous Shabby White embossing enamel.


I will list the products used with a link to the shop at the bottom of the blog post.
My second project is a colour tag:


I created the background using distress oxides - i have applied these onto the glass mat, spritzed with water and then patted the tags and pocket onto the colours.


I have then used a darker colour and stencil over the top.


I have then coloured some paper and stamped an assorted of flowers and then  fussy cut them out


I have stamped a happy birthday sentiment on the little tag so that my tag can now be a birthday card/tag


I have added some black glitter paper behind the numbers on the pocket so they stand out.
I have used a white paint pen and Liquid pearls as highlights on the flowers.


The dragon fly has been embossed with embossing powder.


For the final touch, I have edged the tag with black ink
I hope that you have enjoyed both my projects.  Below is a list of Scrap fx products used and a link to the store.


Paper Pocket B Numbers - Click Image to Close


Spider Flower BLACK - Click Image to Close


Build a Flower stamp - Click Image to Close

Art Nouveau Frame A Set - Click Image to Close

White Tags, large - Click Image to Close 
Art Nouveau Dragonfly - Click Image to Close

Thanks for stopping by and til next time - Happy Crafting