Saturday, 23 December 2017

water colour layout by for Art and Soul Design Team

Hi everyone, I am here to share a layout that I have created based on the moodboard for this month.  This is my last layout for the design team and I would like to thank everyone for their input as a team and for creating such a wonderful place,.


How divine is that!!!!!!!  I have used the photo, the colours, the watercolours and the stamps:


I began with watercolour paper and applying Prima Confections watercolours using water to move the colours around, drying in between the layers.


Once this was dry I stamped around the paper using a script stamp, circles and some images.  I wanted the images to blend into the background so used chalk ink on these ones.  The script stamp I have used black archival ink.

Once all was dry I began to build up my photo mat.  Here are some close ups:


Thanks for stopping by and I hope that you have some crafting time this christmas holidays to enter this months challenge.
  Here are the products I used and links to the shop.

Watercolour Paper
Prima Watercolour Confections - Odyssey
Prima Watercolour Confections - Shimmering Lights


Thursday, 21 December 2017

Paper Artsy art journal page for Scrap Matrix Design team

Morning and I would like to wish everyone a very Merry Christmas and Happy New Year.  I still cant believe how quickly this year has gone.

It is Paper Artsy month at Scrap Matrix and I have created an art journal page using the wonder Paper Artsy Stamp created by Darcy - you can find the stamp in the store here


I began this page by cutting up some paper from an old encyclopedia and gluing them to the art journal page.


I have then added colour using Dylusions paints - Lemon Zest and Calypso teal


and the pushed the colour to the background using Dylusions Paint - White and a brayer


I have then stamped on heavy duty cardstock the images, coloured them in with Dylusions paint pens.  I then fussy cut them out and stuck them onto the art journal page.  I apologise for no photos of this step but technology got the better of me - again!

I have adhered everything to the page using Finnabar Soft Matt Gel - I also applied this to the top of the image and around the image as I can then use the Stampers Big Brush pens and have some time to blend them around - the gel allows this time.

Here are some close ups:

To make the images "pop" I have outlined them with a white paint pen.


I have also done some dots, dashes and scribble marks on and around the flowers.


I have used Faber Castell Pitt Pens - Olive, Walnut Brown and Warm Grey around the images to also get them to "lift" off the page.


Here is a link to the products that I have used and are available at Scrap Matrix


thanks for stopping by and I hope that you get a chance over Christmas to have a go at our challenge this month - dont forget to tell us which Paper Artsy stamps that you have used - you can then be in with a chance to win a voucher from Scrap Matrix!


Monday, 18 December 2017

layout and atc's for Scrap FX

Hi everyone, I am on the Scrap FX Blog to share my last project for the year - For my layout I have chosen a collage of photos that I took whilst at the Melbourne Sea Aquarium with my son.


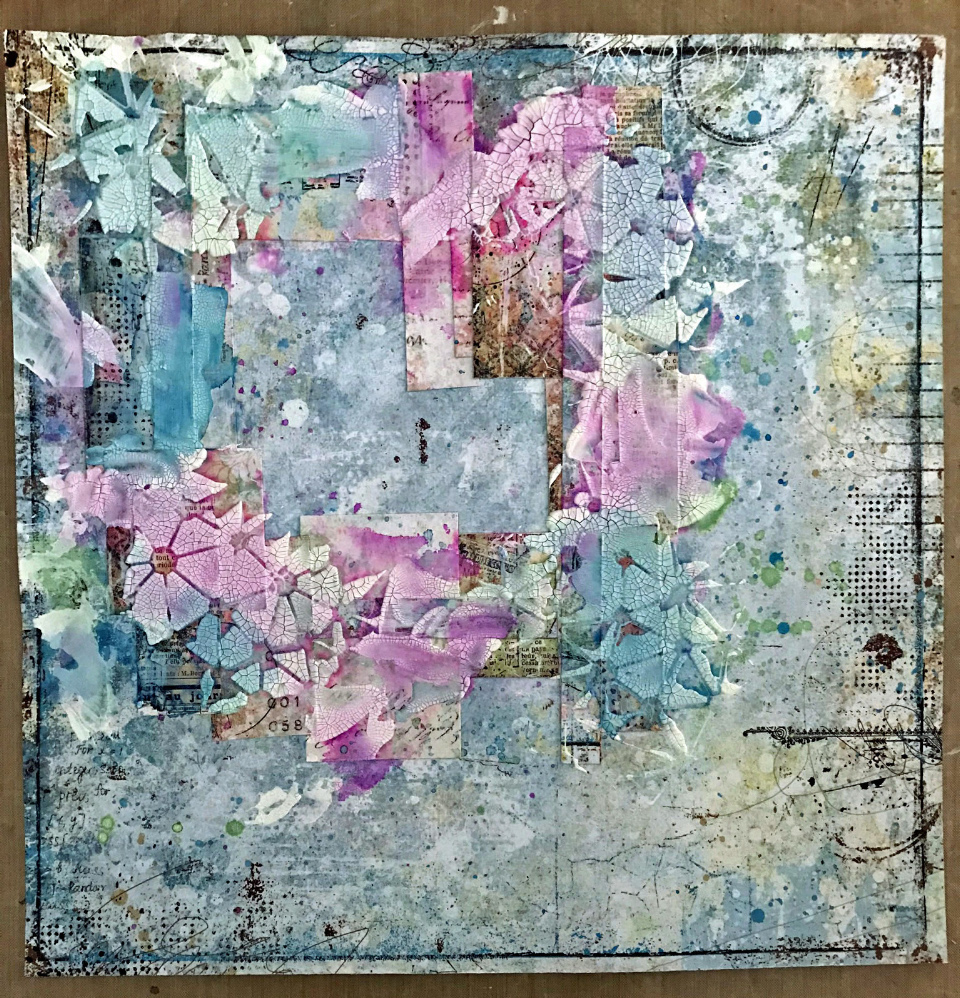
I began by adding layouts of paper to create the mat around my photo collage.  I then used white gesso to blend it together with the background.  
I used a Scrap FX Stencil and white crackle paint randomly around the area. Once this was dry I have applied watercolour paints - I have used Lindy Stamp Gang Paints.


When this was dry I have used a couple of Scrap FX stamps randomly around the area.


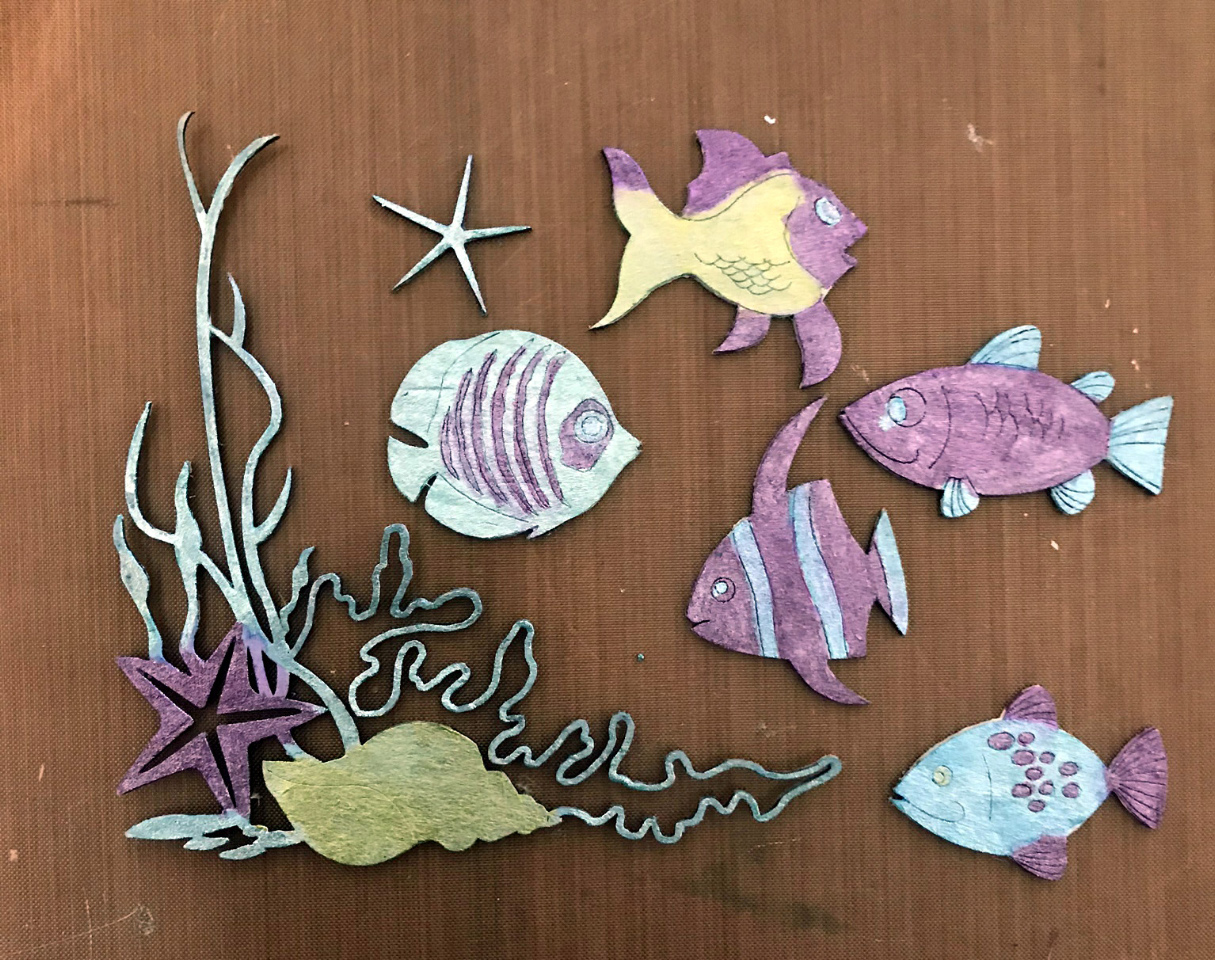
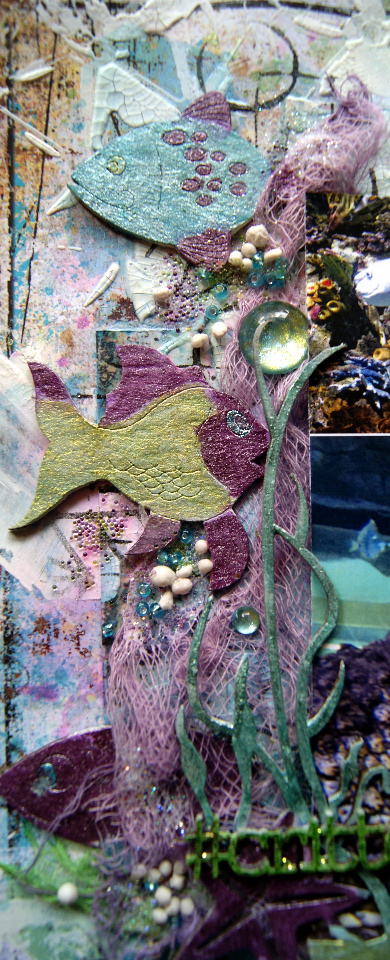
I then painted the chipboard pieces with white gesso and then Finnabair Art Alchemy Sparks Paints.  Final touches with Prima Melanges, art stones, glitter mix and glass beads


Here are some close ups:


Scrap FX Products used:


For my next project I have created some ATC's


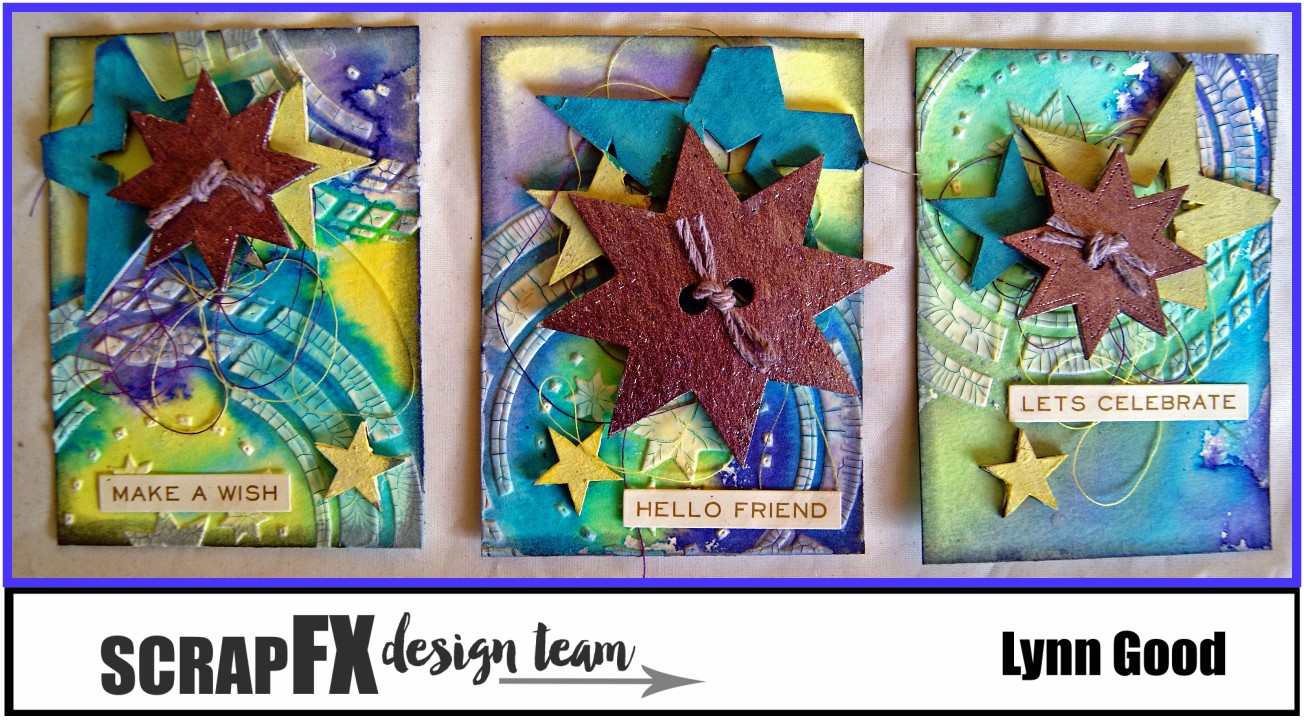
 I have cut some water colour paper to ATC size 2.5 x 3.5 and applied white crackle paste with a Scrap FX stencil.  Once this was dry I have then used Ecoline Water Colours in blue, yellow and purple.   


I applied white gesso to the chipboard pieces and then painted them with the same watercolours.  For the top stars I have used Finnabair Art Sparks paint - Iris Potion.  The photos have not revealed the proper colour - it is a purple but my camera did not want to play the right game and after numerous attempts I realised I wasn't going to win and christmas was looming so it is what it is!!!!!
Final touches include the Tim Holtz Metallic sticker quotations, cotton and distress ink (chipped sapphire) around the edges.  Here are some close ups.


Scrap FX Products Used


Well I hope that you have enjoyed my projects and you find some time these christmas holidays to get creative.
I would like to wish you all - a - 
Merry Christmas and a very happy and safe New Year.

Saturday, 9 December 2017

12x12 Layout for Visible Image Design Team

Hi, today I would like to share a layout that I have created for Visible Image using 3 of their wonderful stamp sets.


I began by creating the watercoloured flowers - I have stamped onto watercolour paper and embossed the flowers in black embossing powder.  I have then used Inktense Blocks to colour - I love the vibrant colours they give.


Once dried I have fussy cut them out.   I also heat embossed the title with Lindy Stamp Gang Embossing powder - Venus Violet Blue.


Around where my photo is going to be I have embossed the larger flower in the Venus Violet Blue embossing powder - I didnt want the entire flower - more mark making


I have created a photo matt using paper from the same collection - 7 Dots Hazy Days and inked the edges in Tim Holtz Distress Ink Spiced Marmalade. By placing the photo matt on my layout I was able to stamp some circles and cats in the correct position


I then placed the flowers around the layout and added my photo and it was complete.


Stamp sets used with links to the Visible Image shop:


Imperfection is Beauty


Create It


Live in the moment


Thanks for stopping by and til next time - Happy Crafting