Sunday 20 December 2020

Xmas cards for Paper Artsy

2020 Topic 22:Icy Christmas


Hi everyone, iI'd like to share with you a set of cards that I have made for this weeks topic "Icy Xmas" for Paper Artsy.

I chose to use images from the stamp sets EDY25 & EDY26 by Darcy as I just love their quirky nature.  I wanted to make simple but fun cards


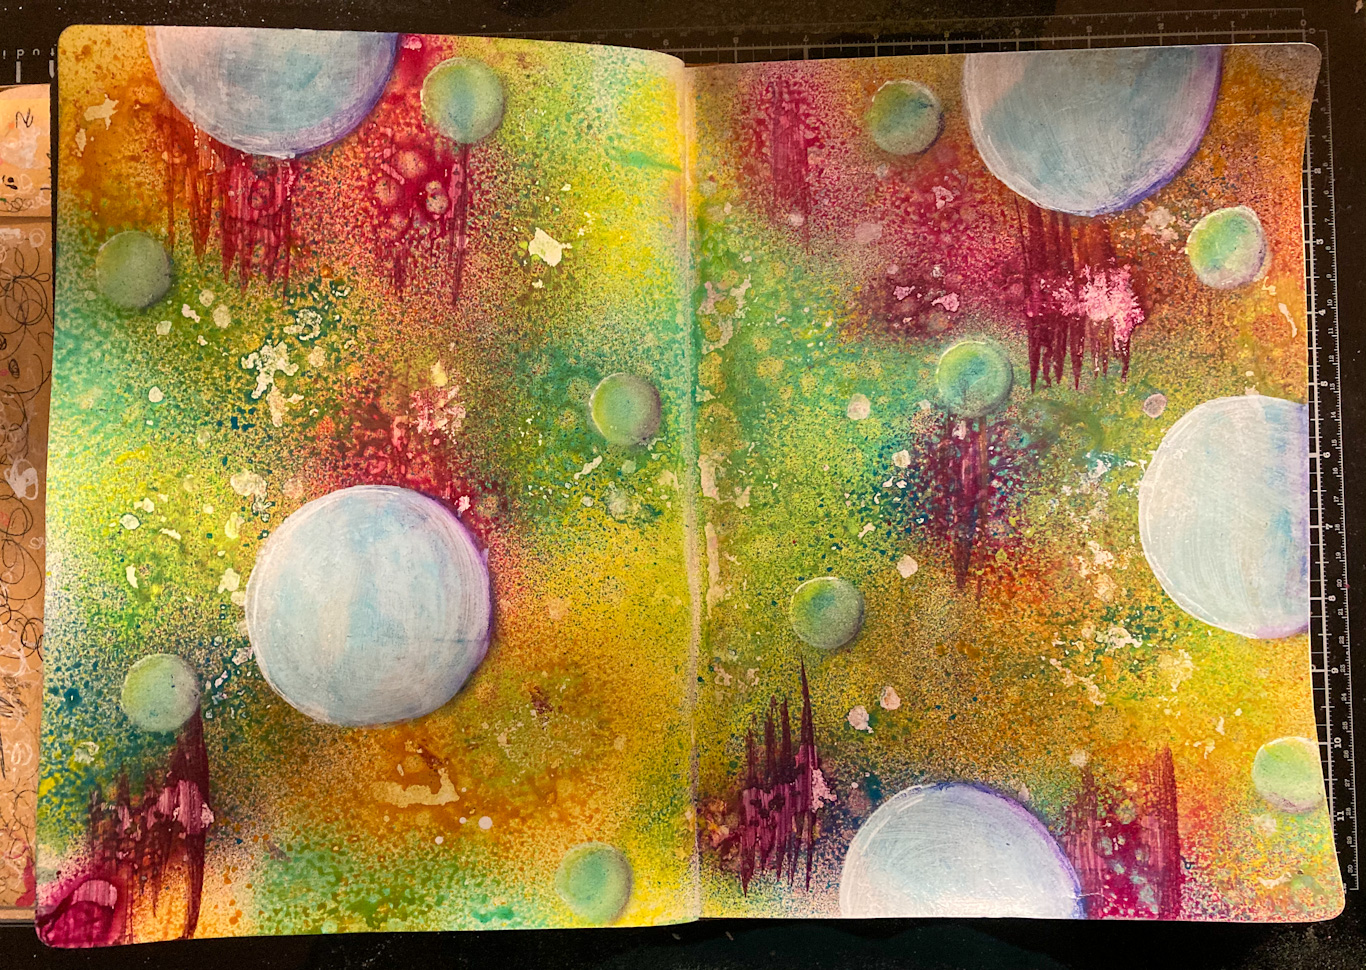
The top two cards have a background that I created. This was to be the beginning of my project but as usual it took a turn on its own and turned out completely differently!!!

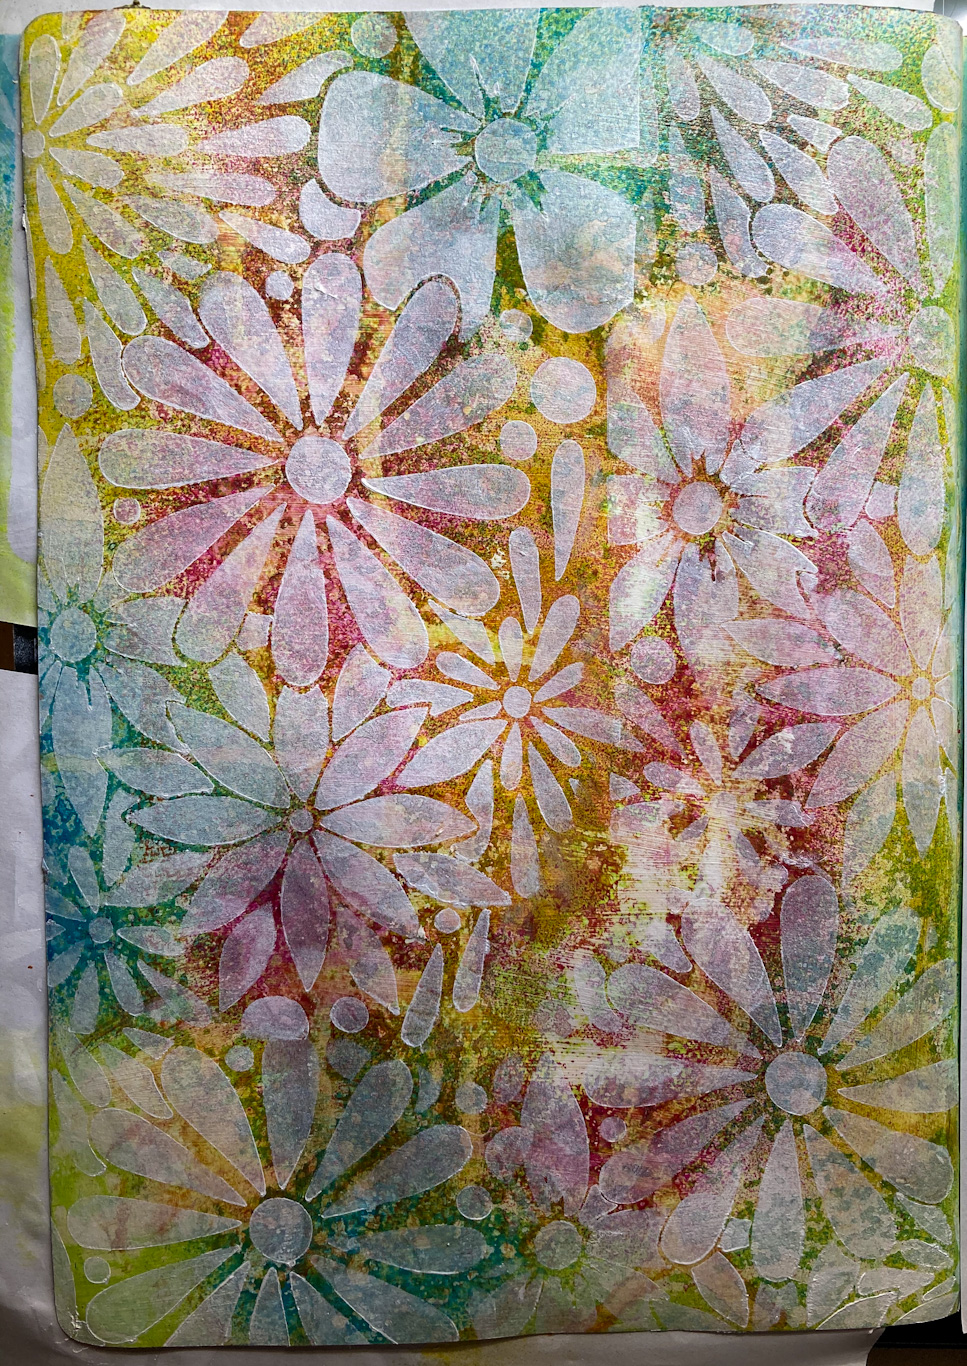
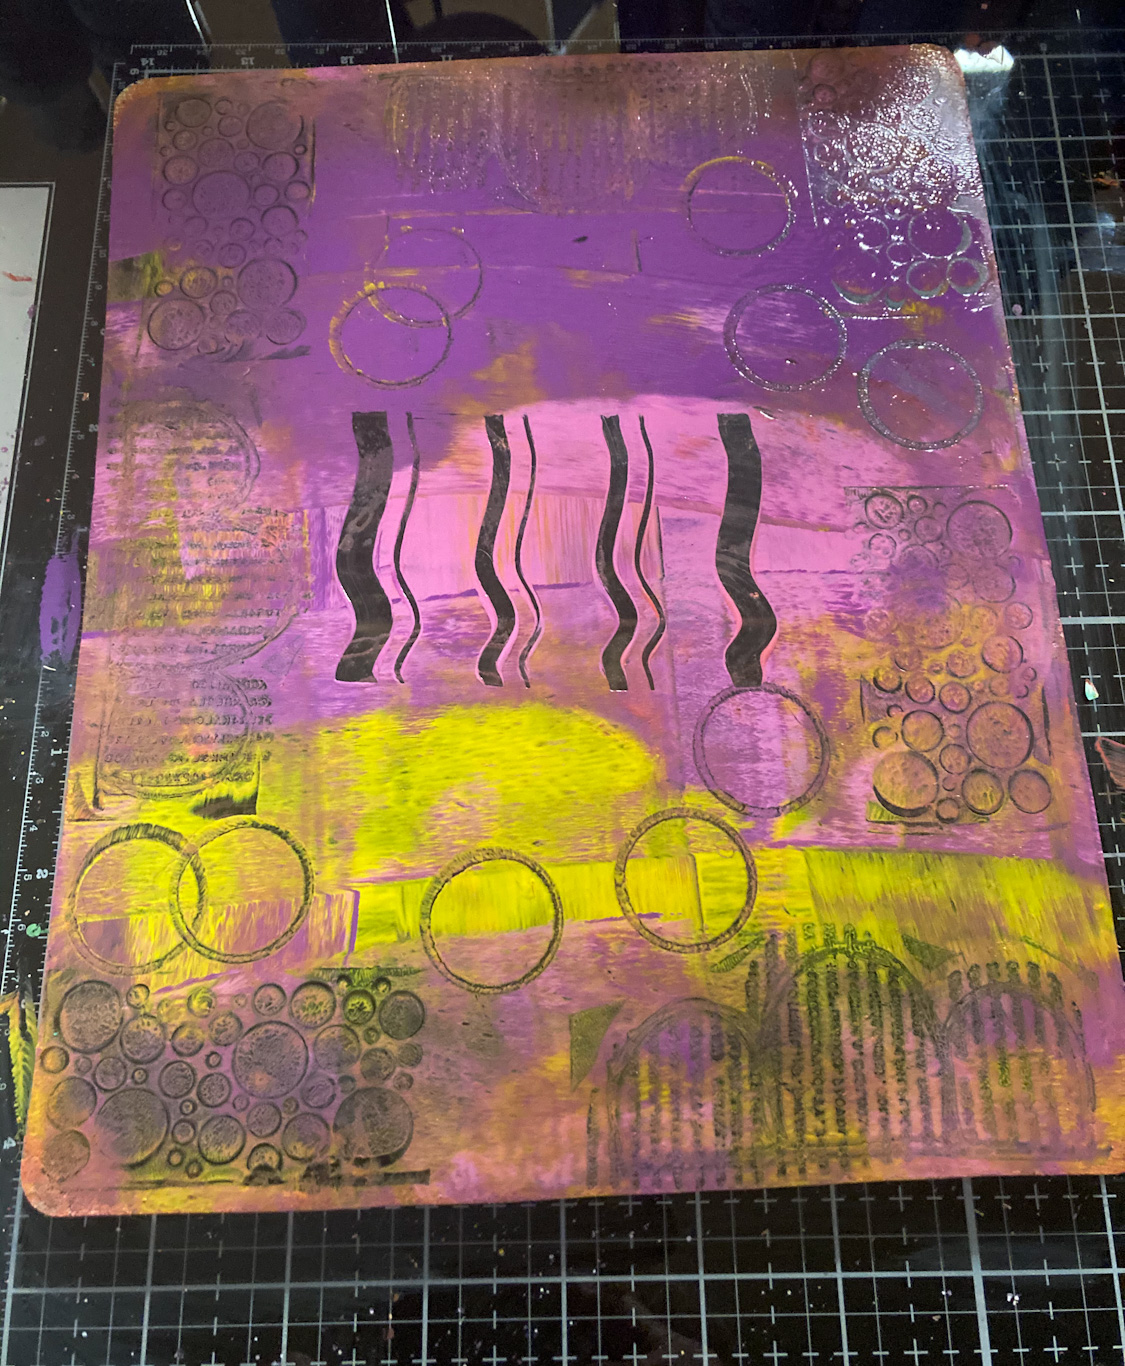
I made the background using Smoothy cardstock  Heavy 340 gsm.  I started with a layer of Paper Artsy Fresco Finish Paint - Cloudy and a metallic paint in Silver.  Before the paint dried completely I have used a heat gun over the metallic paint to cause it to bubble and create this wonderful effect - I was thinking of snow and ice at the time.  (This only works with metallic based paints)


I have painted over it with Paper Artsy Fresco Finish - Blue Moon and before it dried, wiping away the paint on the bubbled areas that I wanted to highlight.
I have then covered the whole piece with Paper Artsy Fresco Finish Crackle Glaze for an extra effect.


 I loved this effect and spent a couple of days deciding what I was going to do with it!!!  I decided to use it as background for cards.

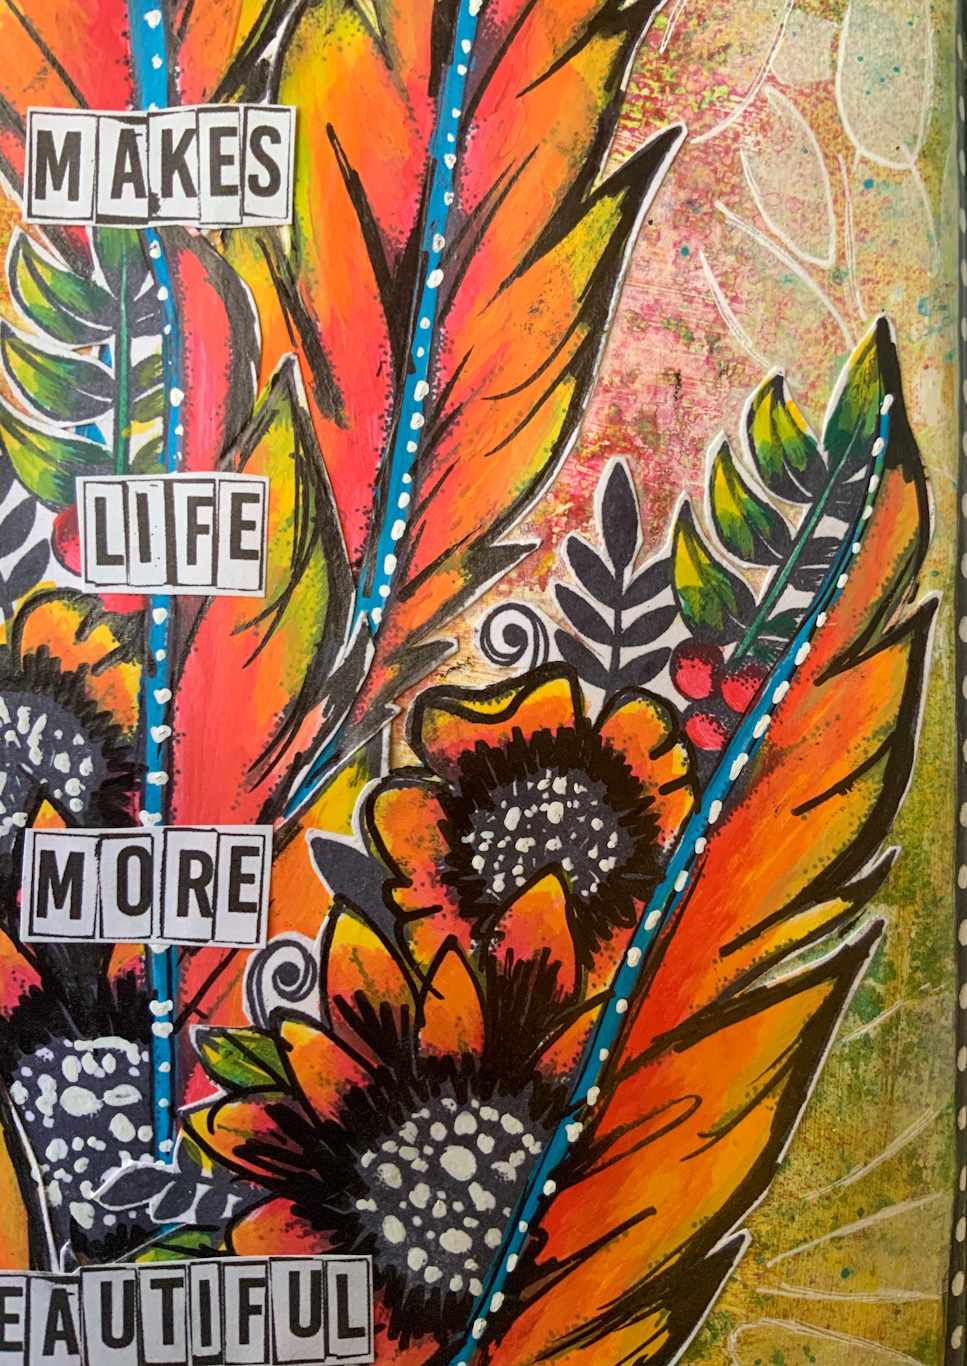
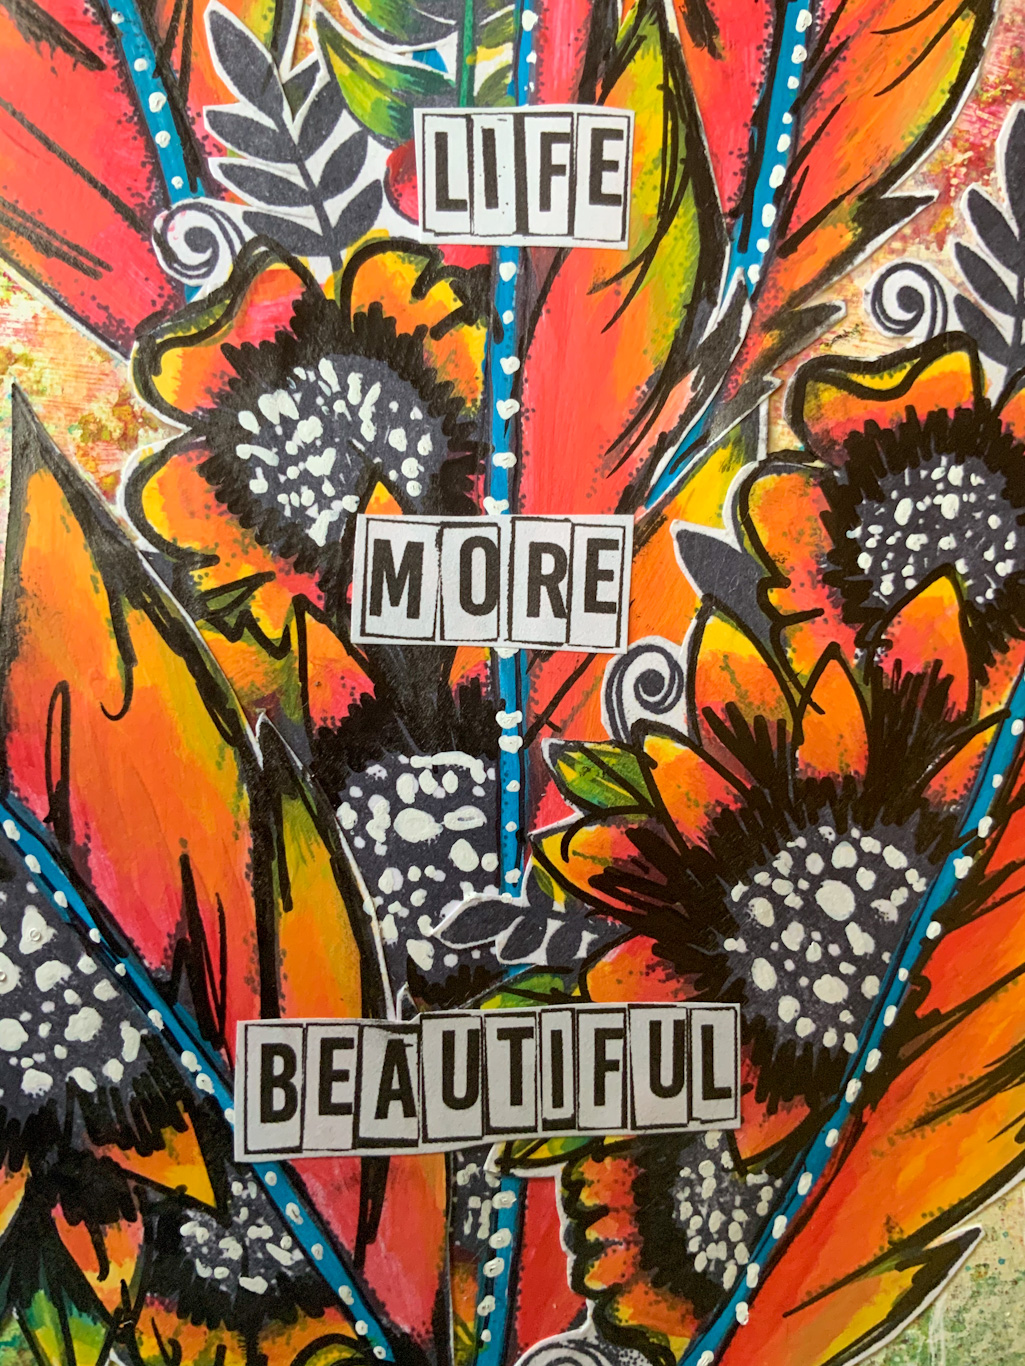
Using the same smoothy cardstock I have stamped out the images and added highlights of colour.  I have used the following colours:

Smurf
Banana
Beanstalk
Limelight
Slimed
Candy Floss
London Bus

I have added some bling dots, liquid pearls and puff paint for snow.
 
Here is each one:


I hope that you have found some inspiration to have a go at these quick and easy but great Christmas Cards.   They would also work well as tags for presents.

Thanks for stopping by, and I hope that everyone has a wonderful and safe Xmas and New Year.  2020 has certainly not been what we expected and fingers crossed 2021 will be kinder to us all.

Lynn 


Wednesday 19 August 2020

Colour Makes Life More Beautiful - for Scrap Matrix Design team

Hi everyone, today I would like to share my art journal page being my second project for this months challenge at Scrap Matrix.

I recently purchased this awesome Tracy Scott stamp - ETS43  and couldn't wait to have a play.


I decided to go outside of my comfort zone and create with greens.  Yellows I can deal with - greens scare me!!!!  So I have used Dina Wakley Gloss Sprays - Slimed, Lemon, Eggplant, Olive, and Ocean.  I love the way these react to each other 


and if you wipe across with a paper towel roll before they are completely dry the effect is awesome.


I have then added contrasting colour Fuchsia


To push all this to the background I have used a Paper Artsy Stencil PS201 and the white gloss spray with a dauber.


and again wiped across with a paper towel roll so I didnt get such a defined look.


Using the Paper Artsy Smoothy Cardstock I have stamped the Tracy Scott Stamp ETS43 and coloured with Paper Artsy Paints - highlighting with flourescent pencils.


I fussy cut the images and adhered them to the page.  Once dry I have highlighted and outlined with white and black pens 


and addd a quote from Art by Marlene

Here are some Close Ups


Thanks for stopping by and I hope that I have given you some inspiration to enter this months challenge.


Saturday 8 August 2020

Art Journal Page for Scrap Matrix Design Team

Hi everyone, today I would like to share an art journal page I made for this months challenge over at Scrap Matrix - - Drip, Spray, Spritz


Here is my page:


I got the new Dina Wakley Gloss Sprays and couldnt help myself but have a play.   They are super awesome and had such fun.  I sprayed and let them do their own thing.


Before drying completely I sponged off with a paper towel roll


Loved it and did one more roll - OH NO - took too much off!!!


So started again - applied gesso and waited for it to dry


Again sprayed the gloss sprays and used a credit card through the Fuchsia colour and splashed with the white


Using the white gloss spray and a dauber I made some circles.  The white is opaque and comes up so vibrant.


I have then used some crayons to colour the circles and create shadows around them.


I decided to add some bigger circles - this time using Paper Artsy Snowflake paint.


Once dry I have added some quotes from Tim Holtz Small Talk, Numbers stamp from 13 arts and graphite sticks around the circles and edge of the page.

Here are some close ups:


Thanks for stopping by and I hope that you have time to enter this months challenge.

Until next time - happy crafting 

Sunday 19 July 2020

Mini Madness - Little Album for Scrap Matrix

Hi - back to share my second project for this months Mini Madness for Scrap Matrix!


I find making these little albums very therapeutic!  When I have an event and take alot of photos, I print them out 8cm x 6 cm and they fit perfectly in here with room to journal.

I start with book pages, butcher paper, A4, Cardstock - whatever I have- and even some cut offs that I have made for other projects.

I use a Gel Plate, stamps, stencils and mark making tools to create the pages:


Whilst making this page I also painted a little canvas - I will show at the bottom of the blog what I did on this.


I have used Paper Artsy Paints and a combination of stamps that I have in my stash.


Some I leave white space as they provide a great contrast in the book.


This one is a combination of stamps, toilet roll ends, and Tim Holtz carve tools


Stamping into ink and also using what is on the stamp to place the opposite image.


Once I have completed enough pages I cut them to fit inside the book.  The size you make is entirely your choice - the bigger you go the more paper you will have make!


To make the cover, I have used some heavy duty cardboard and made two covers and a spine, which I have joined with a sticky backed paper.

Once all pages are cut, create two signatures and attach with waxed thread.


I have added some silk ribbon to the spine to hide the waxed thread


Some pages I have made longer so they can pull out and hold more photos.  I have also used paint pens to add some marks and details


I have painted the inside and outside of the covers with Paper Artsy Paints and covered with pages that I created.


Now it is all ready to add some photos :)

I hope that this has inspired you to have a go - little albums on the coffee table are always a hit with visitors!

Oh and the little canvas - I have created this for my husband to place by his computer :


Lynn Good